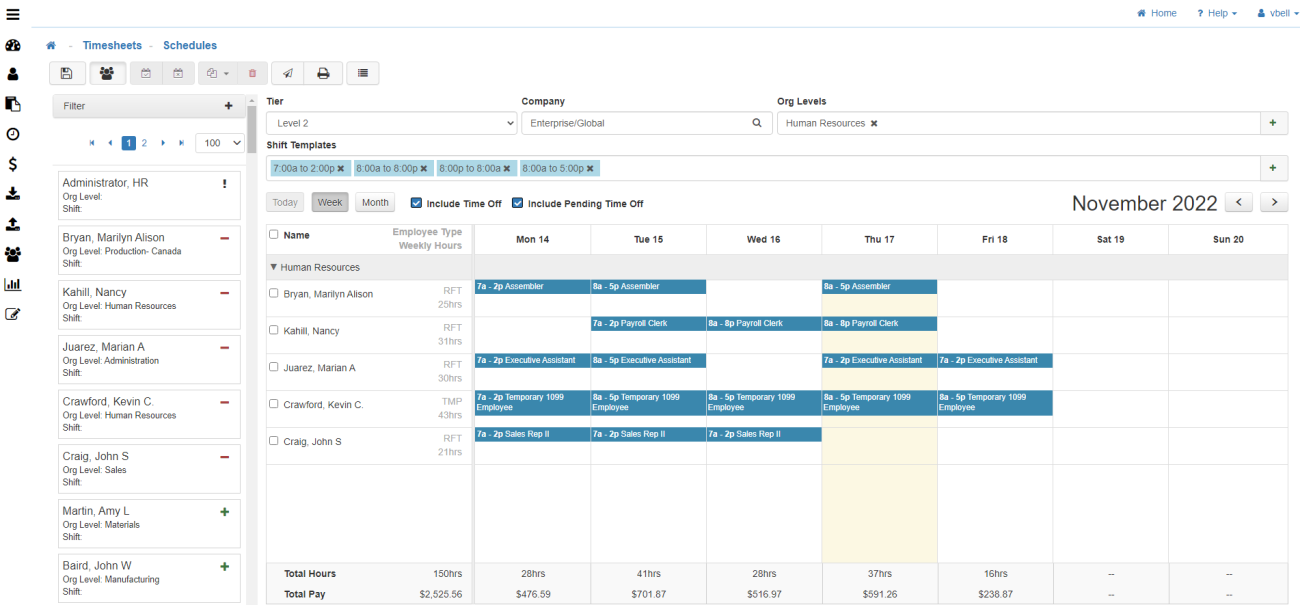
Schedules
The Schedule screen is where Users (more specifically Managers) go to create and publish Employee schedules.
Schedules Overview
The flexible and user-friendly scheduling system within LightWork allows Managers and Employees to work together to make scheduling much easier and more transparent. In scheduling; there are a couple of scenarios to consider.
Scenarios
-
Predictable Work Shifts
You have a workforce that works general consistent timeframes or shifts (these shifts are normally routine with occasional changes or tweaks).
Note: These Employees are prime candidates to be assigned shifts in LightWork.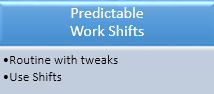
-
Unpredictable Work Shifts
You have a workforce that has unpredictable or variable hours they work, where you would want to utilize the system as more of a free-form tool.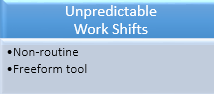
Note: The basic building block of scheduling in LightWork is called Shift Time Templates. These Templates are going to be important regardless of whichever scenario each of your locations is dealing with. These Shift Time Templates are the hour 'chunks' that Employees work. These chunks will be what effectively make up a schedule for an Employee.
Building Employee Schedules
In the scheduling module, you can utilize both Shifts and Shift Time Templates to build Employee schedules.
-
Shift Time Template
To set up a Shift Time Template, navigate to the Shift Time Template Maintenance. -
Shift
To set up a Shift, navigate to the Shift Maintenance.
Schedule Toolbar
![]()
-
Save
Saves any changes made to the schedule. -
Employees
Will expand and collapse the Employee pop-out list of the individuals available for scheduling. -
Generate Schedule Using Assigned Shift
This will auto generate a schedule for Employees based on their assigned shift for the week.
Note: Schedules will only populate if an Employee has a Shift assigned to them in the Employee profile. -
Generate Schedule Using Time Off Requests
Depending on your configuration you may also have access to auto generate schedules by incorporating Time Off Requests into the Employee(s) availability. This feature allows you to easily keep track of which Employees are available for scheduling. -
Copy
This allows Users to copy a schedule for the current week from the previous week’s schedule, or from the current work week to the next week, for a selected Employee.
Note: From the drop-down menu select 'From Previous Week' or 'To Next Week'. -
From Previous Week
This will copy the Schedule from the previous week for the selected Employee(s). -
To Next Week
This will copy the Schedule in the current view for the selected Employee(s) to the next week. -
Delete
This removes the selected Employee(s) from the schedule and deletes any relevant shifts. -
Publish
This will publish and post the current schedule details and make it so that the schedule is 'live' and accessible in the Kiosk. -
Print
Allows you to export the schedule as a PDF or Excel document. You can then print these after exporting. -
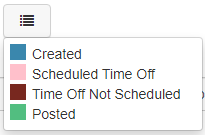
Color Legend
A color legend used to provide context for the block colors you can encounter while building a schedule. -
Created
Indicates a scheduled shift was created on that date for the selected Employee. -
Scheduled Time Off
Indicates a scheduled Time Off Request was generated on that date for the selected Employee and they are not available for scheduling on that date. -
Time Off Not Scheduled
This includes both approved and pending Time Off that has yet to be scheduled via the 'Generate Schedule' process.
Note: If Time Off is not approved, it will not be scheduled when you generate the schedule. -
Posted
Indicates that the schedule has been published and posted.
Employee List

-
Filter
The collapsed filter that can be used to search and filter Employees available for scheduling. -
Adding and Removing Employees
If a plus symbol is displayed this Employee is available to be added to the schedule. If a minus symbol is displayed that Employee is already on the schedule but can be removed. If you see an exclamation point that means that the Employee record does not have a job assigned so they cannot be added to a schedule.
Note: Removing an Employee does not delete all relevant shifts. If you’d like to accomplish that be sure to select the Employee and hit delete. -
Add Employee
This will add the selected Employee's schedule to the Schedule View. -
Remove Employee
This will remove and delete the selected Employee's schedule from the Schedule View.
Schedule Screen Navigation
-
Tier
Select the Organization Level tier you wish to schedule Employees within. -
Company
Select the company you wish to create schedules for. -
Organization Levels
Select the Organization Levels you want to show on the schedule by using the Green plus sign to the right. -
Shift Templates
Gives you quick access to the available free-form Shift Templates that you can use to drag and drop into the schedule. These can be used to create a schedule from scratch when a shift is not available for the Employee, or there is a need for a free-form entry in the work week. If you don’t see your created Shift Templates be sure to bring them into your tray to work with by selecting the Green plus icon to the right of that field. This will pull up a lookup for all Shift Templates in the system. -
Today
Will take you back to Today's Date. -
Week
Shows the calendar in a Weekly View. -
Month
Shows the calendar in a Monthly View. -
Include Time Off
Will show approved Time Off on the schedule when selected. -
Include Pending Time Off Not Scheduled
Will show pending Time Off on the schedule when selected. -
Shorcut Tools
When right-clicking on an Employee's name inside the schedule, you will be provided with a list of shortcut tools you can utilize for quick access to tools such as Copy, Copy To Next Week, Copy From Previous Week, Paste, and Delete Schedule.

Note: Once you’ve created your schedule and hit 'Publish', your Employees will be able to access them in the Kiosk. To enable scheduling in the Kiosk, go to the Module Options Maintenance and check on the option to Enable Scheduling in Kiosk. After that has been enabled, an Employee can sign in to their Kiosk and select the View Schedule option on their Kiosk home and scroll through different views of their schedule for today, this week, and the next two weeks.