Goals
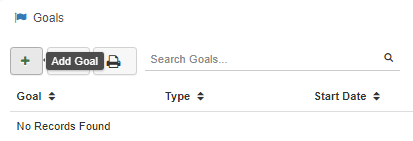
The Goals tab provides a view of all of the Goals associated with the selected Employee. You can also add new Goals, and print a Goal Report with a detailed list of Goals for the selected Employee.
-
New
To add a new 'Goal', select the Green plus sign.
Note: If you're unsure you can hover over for a helpful tooltip on the button's function. -
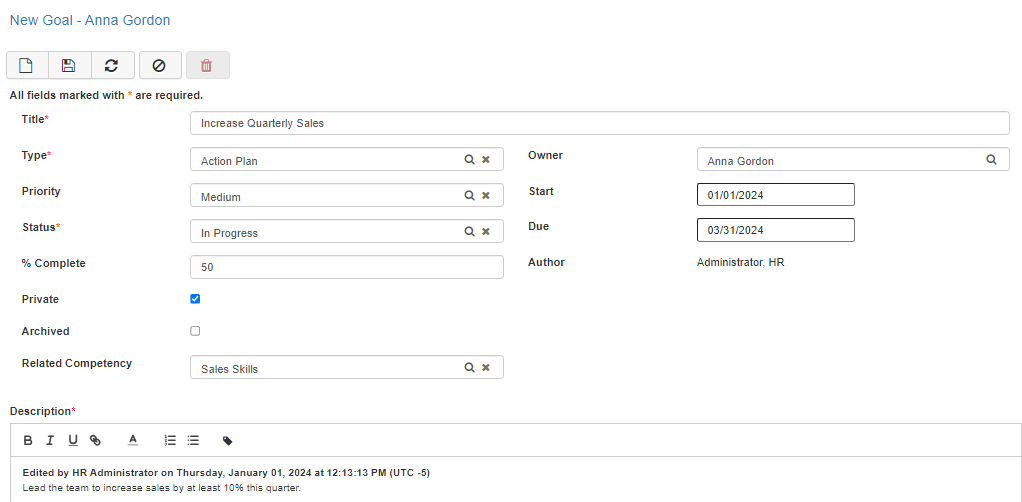
Required Fields
All fields marked with a red asterisk are required fields and must be filled out.
Note: Required fields can vary depending on system configuration in the Goal Maintenance. -
Title
Fill out a descriptive 'Title' for the Goal. -
Type
Fill out the 'Type' by selecting an option from the lookup menu. The options available in the lookup menu are setup in the Goal Type Maintenance. -
Priority
Fill out the 'Priority' by selecting an option from the lookup menu. The options available in the lookup tool will be 'Low', 'Medium', and 'High'. -
Status
Fill out the 'Status' by selecting an option from the lookup menu. The options available in the lookup tool will be 'Cancelled', 'Complete', 'In Progress', 'Not Started', and 'On Hold'. -
% Complete
Fill out the '% Complete' by either manually typing in the percentage, or using the up and down arrows to adjust the percentage. -
Start Date
Fill out the 'Start Date' with the date you would like to the Goal to start. -
Due Date
Fill out the 'Due Date' with the date you would like to the Goal to be completed. -
Text Editor
When filling out the Description, Importance, Actions, Measurement, and Comment fields the text editor box will have its own set of tools in the toolbar.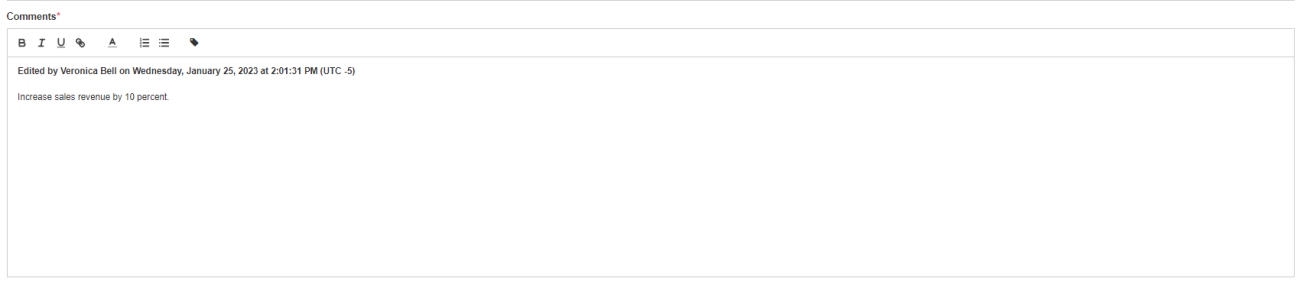
-
Bold
To make your comment bold, first highlight your text in the editor box and select the 'B' located in the toolbar. -
Italicized
To make your comment italicized, first highlight your text in the editor box and select the 'I' located in the toolbar. -
Underline
To underline your comment, first highlight your text in the editor box and select the 'U' located in the toolbar. -
Hyperlink
To turn your comment into a hyperlink, first highlight your text in the editor box and select the 'Chainlink Icon' located in the toolbar, in the field that is provided type the URL you would like the comment to redirect to when clicked. -
Font Color
To alter the color-scheme of your comment, first highlight your text in the editor box and select the 'A' located in the toolbar, then choose the shade from the options provided. -
Lists
To make your comment part of a numbered list or bullet list, first highlight your text in the editor box and then select either the 'Numbered List' or the 'Bullet List' located in the toolbar. -
Comment Stamps
To provide a stamp indicating the user who made the comment and the date and time they made the comment, click on the 'Tag Icon' located on the right-hand side of the toolbar, prior to entering your comments. -
Save
Once you are satisfied with your selections, click on 'Save'. -
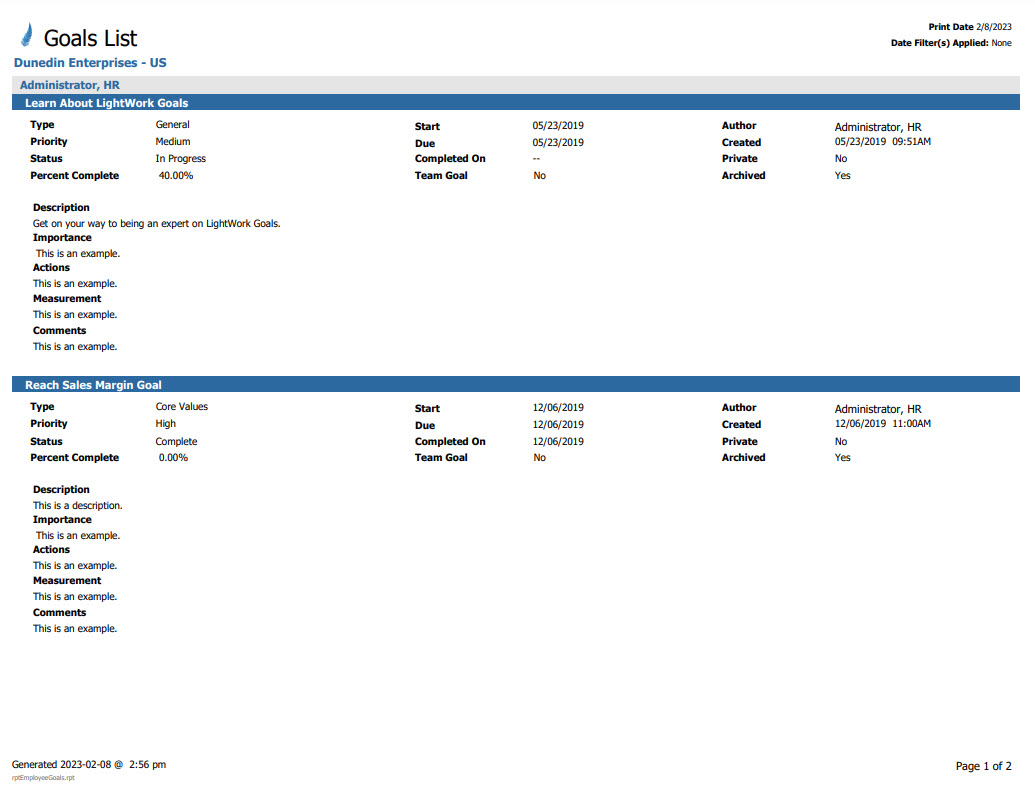
Print Goals
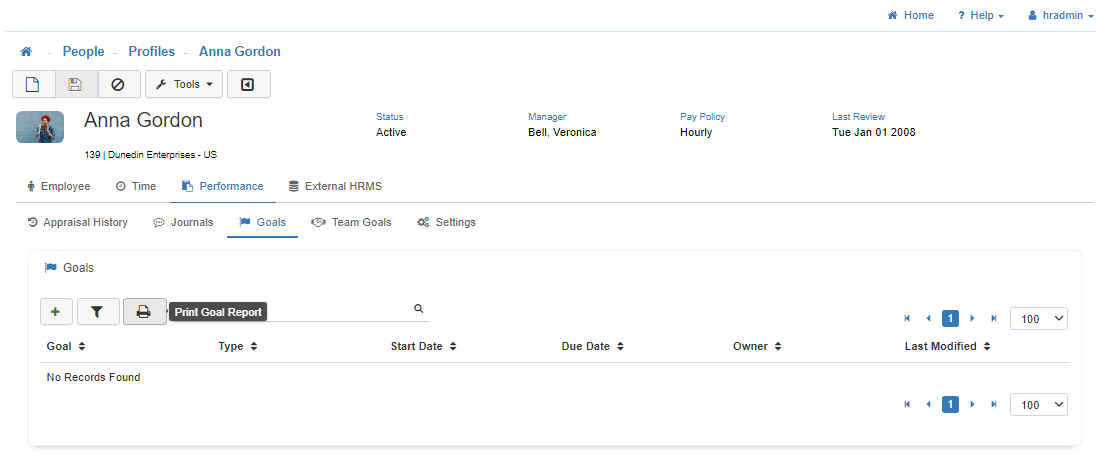
To print a list of Goals select the 'Print' button in the top right-hand section of the toolbar. This will provide you with a detailed printable view of your Goals.
Note: To access the 'Print Goal Report' button set the securable Performance Management - Detail Access - Report: Employee Goals to Full Access in the Group Security Maintenance. Once this is enabled, it will provide the ‘Print Goal Report’ functionality in the 'Goals' section of the selected Employee's profile.