Export Interface
The Export Interface Maintenance is where you define the information that establishes the connection to your external payroll system that the data will be pushed out to.
Note: Your Export Interface should be setup by your LightWork team during implementation.
-
New
To create a new 'Export Interface', click on the 'New' icon. -
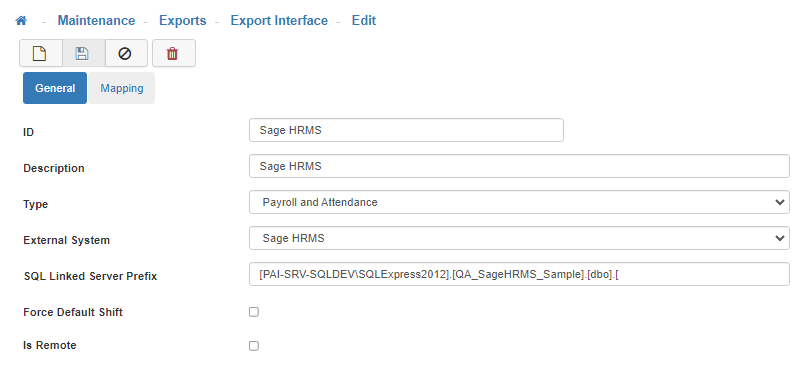
General Tab
-
ID
Fill in the short name. -
Description
Fill in the long name. -
Type
Select the type of 'Export Interface' from the list provided in the drop-down menu. -
External System
Select the external system you want your data to be exported to from the list provided in the drop-down menu. -
SQL Linked Server Prefix
Input the 'SQL Linked Server Prefix'. The SQL Linked Server Prefix path must follow the pattern/syntax of the name of the database, the schema, up to and including the opening bracket that references the tables.
Note: In our example [SageHRMS_Live] is the database name, .[dbo] is the schema, and the path ends with the opening bracket .[ which references the tables. -
Force Default Shift
Enable this feature if you would like to force a default shift during the export process. -
Is Remote
Enable this feature if the external system you are exporting to resides on a remote server. If your LightWork system’s integration scenario utilizes a LightWork Connector, it's best to avoid running a manual import (through navigation to Imports > HRMS > Import and Update LightWork). If the 'Is Remote' flag is turned on in the Export Interface, this signals the presence of a LightWork Connector. In this case, do not run the manual import process. -
Mapping Tab
Here you will map each Pay Code that is setup in LightWork.
Note: Make sure to map all Pay Codes, even if they will not be transferred. -
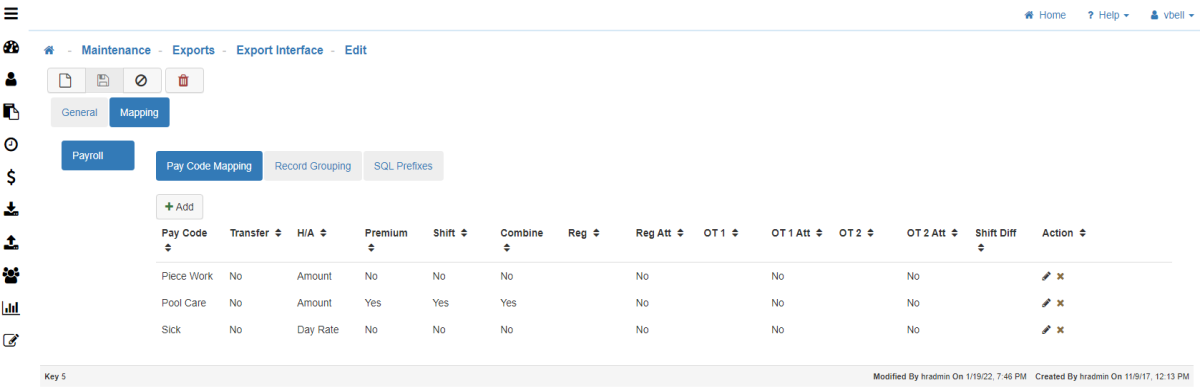
Pay Code Mapping Tab
-
Add
To create a new Pay Code Mapping, click on the 'Add' button and then go through each tab appropriately.-
General
-
Pay Code
From the lookup tool, select the Pay Code you would like mapped in the Export Interface.
Note: You can map more than one Pay Code by selecting 'Add' again after completing the first one. -
Hourly or Amount to Transfer
-
Transfer Code
-
Apply Shift Differential
-
Separate Shift Differential from Reg Hours
-
Combine Reg and Overtime into One Code
-
Force Grouping By Work Date
-
-
Map: Default
-
Regular
-
OT 1
-
OT 2
-
Payroll Code
-
Enable
-
Reason Code
-
Rate Factor
-
Shift Diff
-
-
Map: Organization Level
-
Organization Level
Select the 'Organization Level'.' -
Add
Click on the 'Add' button, then fill out the details.
-
-
Excluding Hours
Note: To intentionally exclude the hours, enter IGNORE as the Pay Code. This would acknowledge that hours are being accumulated in a bucket that are recognized but are to be ignored and excluded from the Export.
-
-
Apply
Once you are satisfied with your selections, click on 'Apply'.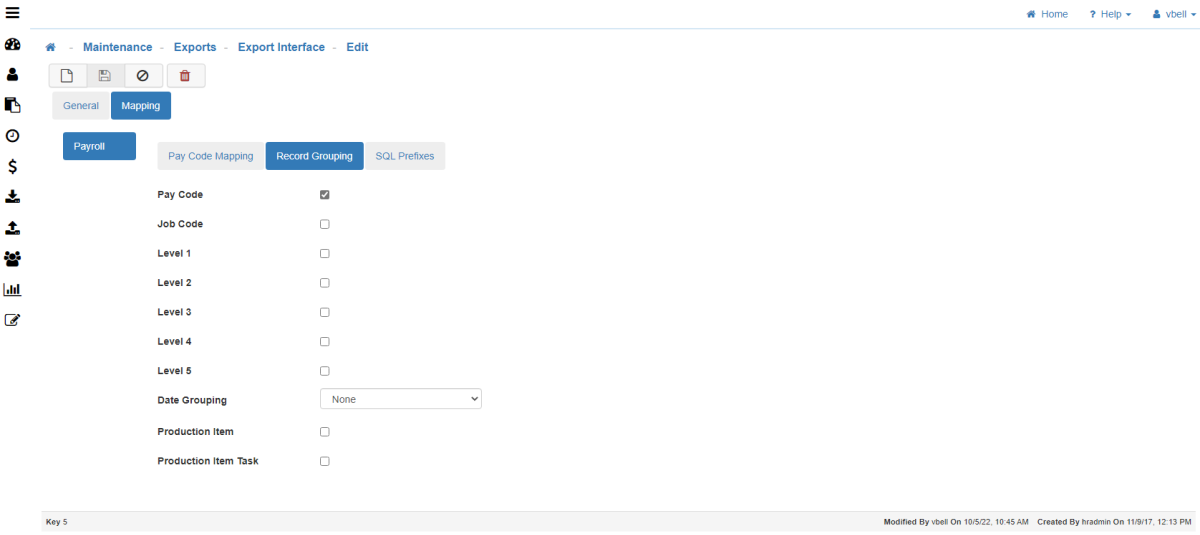
-
Record Grouping Tab
Select how the records will be grouped during the export process. -
Pay Code
-
Job Code
-
Organization Levels
-
Date Grouping
-
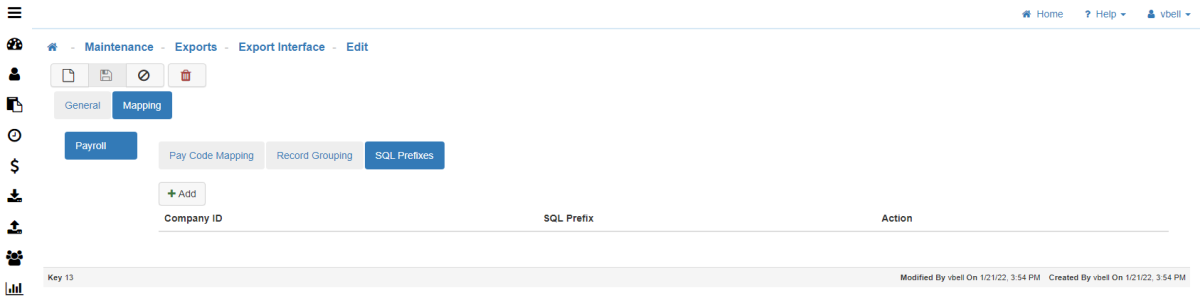
SQL Prefixes Tab
-
Add
To create a new SQL Prefix, click on the 'Add' button.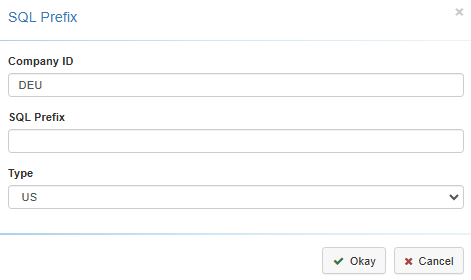
-
Company ID
Fill out the Company ID. -
SQL Prefix
Fill out the SQL Prefix. -
Type
From the drop-down menu, select either US (for United States) or CAN (for Canada).
Note: The Type drop-down menu is only available when the External System you are exporting from is Sage HRMS or Sage 300. -
Save
Once you are satisfied with your selections, click on 'Save'.